Tuesday 23 July 2024

A Passion for Markers BlogSpot #749 - Christmas in July - Sponsored by SheepSki Designs

Hello everyone wishing you all a lovely day !

Today I'm here to let you know that a new challenge has started over on the Passion for Markers Blog challenge and I hope that you will join in.


This weeks challenge theme of 'Christmas in July' (Well it had to be really ! has been chosen by Me for team 2 and is being sponsored by Sheepski Designs


For my card today I chose to use a fun digital image called Snowmen Selfie...I wanted to make today's card look like one of those old Polaroid photos..not that old really and I think they had a bit of a trendy come back a couple of years ago!


This is a simple portrait card that easily fits into a standard 6" x 6" envelope.  I started off by creating my card blank cutting a piece of lilac card measuring 12" x 5" and scoring at 6", folding and burnishing.

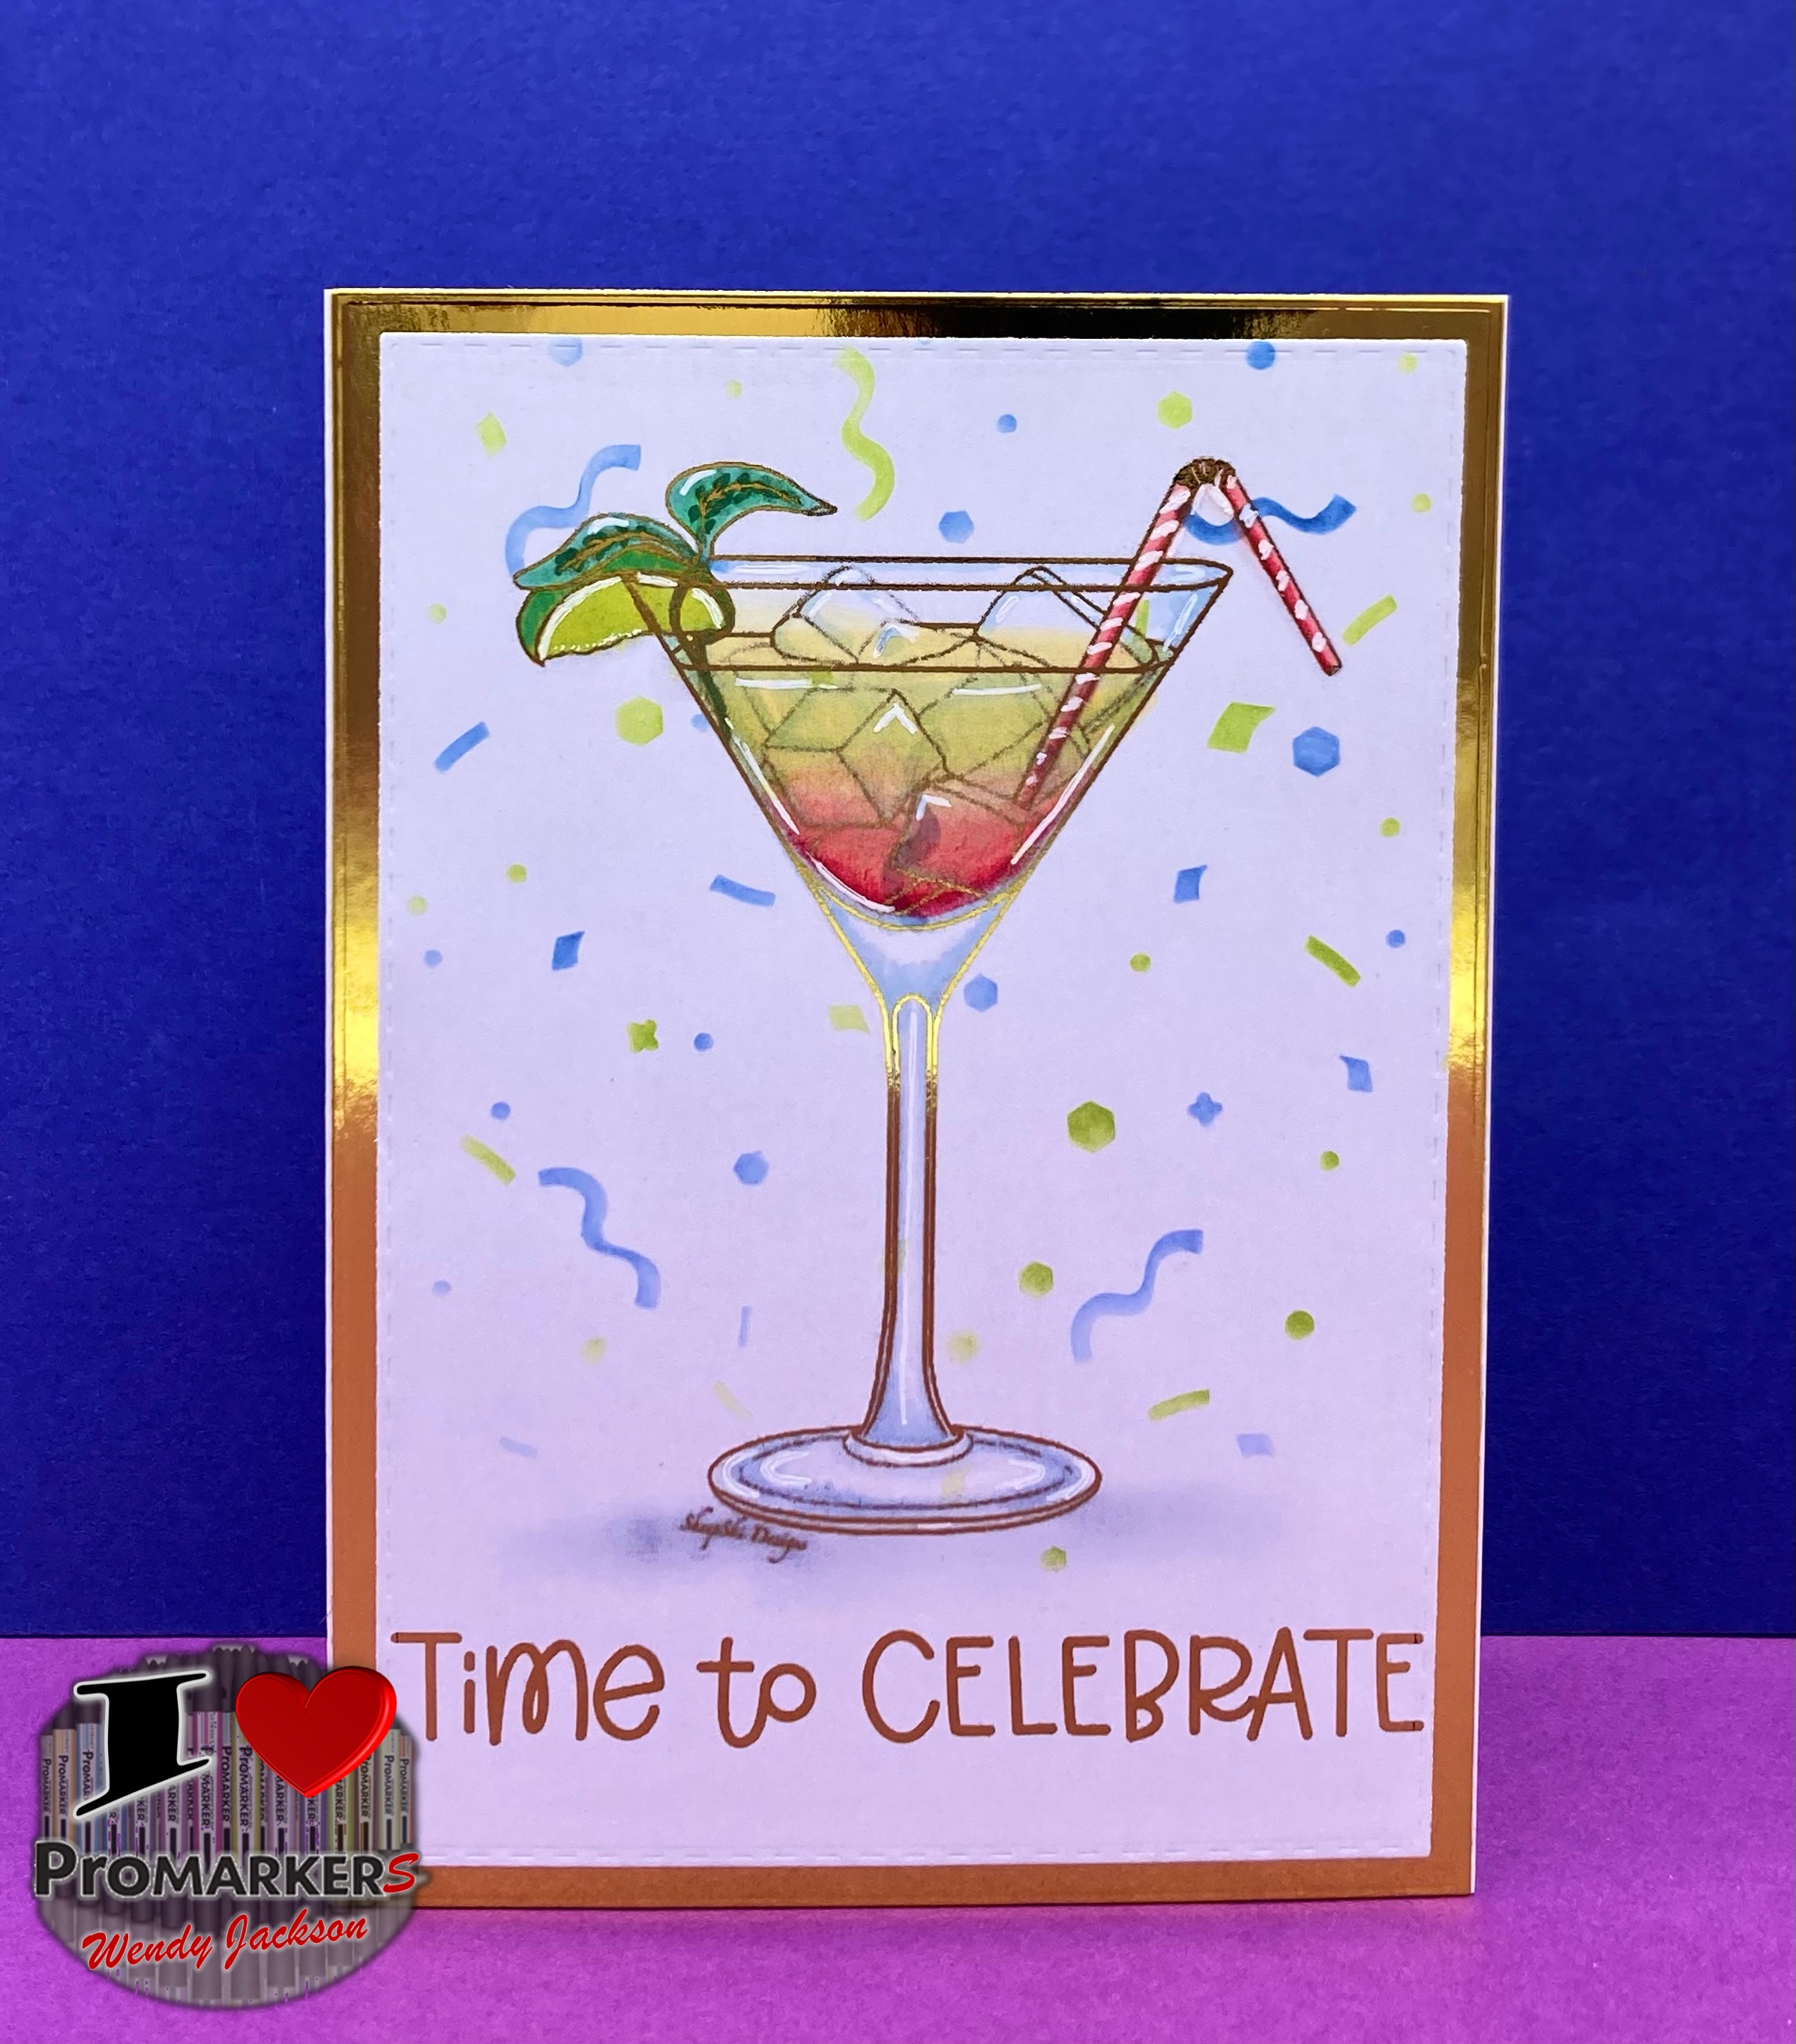
The image was then resized to suit the card and I also printed out a digital sentiment on alcohol friendly card stock in my LaserJet printer.  

I coloured the snowmen with my Promarkers, keeping a simple vivid palette (see below for colours used) and then foiled the sentiment in my Minc machine. 
I then used a rectangular die  and a square die to create my polaroid, cutting out of glossy phot paper so I could mount the frame over the image. 
The foiled sentiment was mounted onto the bottom of the frame using scrap card for a small amount of depth.

The finishing touches were some white roll pen highlights and I used a white posca pen on one of the hats.


I hope that you join in with the challenge as there is a prize from the sponsor for our lucky winner!

I really hope that you have enjoyed my card today and will drop by again to see my next project and don't forget to join in with the challenge over on the Passion for Markers blog


Hasta luego ๐Ÿ‘‹ 


Enjoy the rest of your day !


Card recipe:
SheepSki Designs Digital stamp -
 Snowmen Selfie
Polkadoodles Digital Sentiment - Jolly Santa collection - Sentiment bundle
Sakura Gelly Roll Pen - white
photo glossy paper


Promarkers used :

Snowmen:    pastel blue, blender

Carrots:        burnt orange, orange, ginger

Top Hats:      blue black, cool grey 7, 5
                    burgundy, poppy, lipstick red


Coal:            blue black, cool grey 7, 5

Hats:            aubergine, amethyst, pink pearl
                    marine, turquoise, soft green

Fur:              lavender, ivory

Twigs:            deep mocha, burnt sienna, caramel
Pipe


Thanks for stopping by and reading my blog I would love if you could leave me a comment. 


 Wendy x

Unusual Shape Floral Card - Helga Hippo Collection - Digi Choosday - Sprinkling a little Love with Polkadoodles

Hello everyone and happy Tuesday.  I hope that you have a lovely day today and that you enjoy your week ahead.


It's that time of the week when we launch a brand new 'Anything Goes' challenge over on the Polkadoodles Digi Choosday Blog so I hope you are going to join in and don't forget the amazing discount off all crafty printable downloads until midnight today!


The theme set for the DT this week is to create ' an unusual shaped floral card ' so 
I decided to create a pretty floral wreath card.

The card when flat fits perfectly into a standard 6" x 6" envelope.  I printed out one of the papers, a sentiment and also lots of flowers and leaves from the pre-coloured clip art flowers and foliage bundle.  I fussy cut out the flowers and leaves for my project and used a dark grey pen to outline the flower edges, hiding any white edges,

To create the card base itself I cut a piece of 6" x 6" white card and scored this at 3" to create a smaller tent fold base.  Next I use a couple of fancy circular dies to cut out 3  circular frames from the same white card, cluing two of these together to create a strong circle.  Next I cut a circle of acetate and then glued this to the circular frame before adding the third white circle over the top to hide the glued area.

I then used the smaller of the circular dies to cut into the top of my tent fold card, using the card envelope to determine how low to position the frame on the panel.

Once the base card was cut I added one of the patterned papers to the bottom, using the same die to cut out the top section.  To prevent the card from opening too much and to help it stand up better, I cut a strip of white card 1" x 2" scoring this at 1/2 ", 1", 1 1/2", concertina folding this to create an M shaped piece.  This was adhered inside the card at the bottom centre.

Next I adhered the oval frame to my base card and the decorated the wreath with the fussy cut flowers and leaves.

The sentiment was adhered into the centre of the acetate frame and I adhered a piece of white card to the back of the acetate to hide the glue - this can also be used to write a message on.

Finishing touches where some teal confetti around the design and  stickles to the centres of the flowers.

I hope that you like my project today and you'll enjoy the next card I share from Polkadoodles


Hasta luego ๐Ÿ‘‹ 


Enjoy the rest of your day !


Card recipe:Please note contains some Affiliate links at no cost to you if you purchasing using these.
Polkadoodles digital clipart- Helga Hippo collectionFlowers and Foliage
Polkadoodles digital sentiment- Helga Hippo collection - Sentiment bundle
Polkadoodles digital paper - Helga Hippo collection - Paper set 1
Spellbinders confetti - lagoon


Thanks for stopping by and reading my blog I would love if you could leave me a comment. 

Wendy x

Sunday 21 July 2024

Feeling Zesty - Orange house & Orange Trees Card - Fruitropolis collection with Julia McNeill Designs

Hello everyone Happy Sunday I hope that you are enjoying your weekend ! We spent most of yesterday indoors as the temperatures rose to 40C - it was just too hot to be outside much until around 7pm but it was a nice day for chilling, catching up on my blog and reading.  

Today I'm sharing a fun card for JMC Designs  that I've created using stamps from the brand new Fruitropolis Collection.  There are 4 sets of stamps in the collection and I have used stamps from The Orangery and Pear Place for my card today. 


I wanted to create a more or less one layer card today so started with a square piece of watercolour card stock. First I stamped the Orange house in the bottom corner of the card using Versafine Clair ink (great for water colouring !).  I created a couple of masks, stamping onto Post it note paper - I like to use post it / sticky notes as they are cheap, reusable and really thin so don't cause any problems with stamping.  

I masked off the top of the orange house ans then used the orange tree stamp to stamp a tree so its behind the house.  Next I stamped two more orange trees, using a mask of the tree to allow me to again stamp one tree behind the other, slightly higher up the page as this was going to create a little perspective with the furthest away tree on a hillside.  You'll notice I added a little hedgerow extending this from the house to the edge of the card panel.

Once I was happy with the stamping I then used masking tape to mask off a 1 cm border all around the card.

The first water colouring would be my background, so the sky and the hillside using a combination of Spectrum Noir sparkle pens and my Lisa Horton Crafts watercolour paints.  Once the background was completely dry I removed the masking tape and then started to colour the rest of the design.  I really like the way the images extend over the border - I think it gives a nice effect.


Once all the watercolour had been added I allowed the panel to dry thoroughly and then added all the little details and highlights.  White gelly roll pen  and black Fineliner details.  

I used the little caterpillar and the path from the Pear Place set to add a few extra details and the used the black Fineliner pen to add a couple of wiggly lines around the edge of the water coloured panel.  I added fine green lines for grass around the trees and on the hillside.

The sentiment was stamped onto card and cut out along with fussy cutting the caterpillar, these were both mounted using foam tape to give a little dimension to the card.


I really hope that you have enjoyed my card for today and will drop by again to see my next project.


Hasta luego ๐Ÿ‘‹ 


Enjoy the rest of your day !


Card recipe:
JMC Designs  - Fruitropolis Stamps - The Orangery & Pear Place
Versafine Clair ink – Morning Mist
Spectrum Noir Sparkle pens - tangerine, firefly, garden green
Lisa Horton Crafts - Euphoria Watercolour paints
Spectrum Noir Art liner – black 03
Sakura Gelly Roll Pen – white
Posca Pen - white


Thanks for stopping by and reading my blog I would love if you could leave me a comment. 

Wendy x

Friday 19 July 2024

Hope your day goes with a splash with DisDigitalStamps

Hello everyone happy Friday... I hope that your week has gone well and you have some nice things planned for the weekend or maybe just some lovely time chilling.

Today I'm sharing a cute little card that I've made using a sweet little digital stamp that was a freebie from Di's Digis.  

Di very generously gave all of her Facebook group members this digital stamp after her holidays and well you know me and kitties.


It's a simple A6 (UK Size) card coloured with my Spectrum Noir pencils (still taking a break from my Promarkers with the heat !)

I've coloured him to look like Foxy out ginger boy - he adores the pool water when the cover is on, running around so it splashes and chases after him!

I added a digital sentiment in the top left corner before printing out and colouring in.

To finish off my card today I've added white highlights and glossy accents to the kitties sunglasses

If you aren't a member of Di's lovely Facebook group then here is the link for you to join Join here

Here's a link to her Etsy shop too as there are some fabulous digital stamps

I really hope that you have enjoyed my card for today and will drop by again to see my next project.


Hasta luego ๐Ÿ‘‹ 


Enjoy the rest of your day !


Card recipe:

Di'd Digital Stamp - Freebie
Spectrum Noir Pencils
Sakura Gelly Roll Pen - white


Thanks for stopping by and reading my blog I would love if you could leave me a comment. 


 Wendy x 

Thursday 18 July 2024

My New Stamp - AALL & Create #716 - Scatter Kindness by Tracy Evans

Hello everyone happy Thursday... I hope that your week is going well.

I treated myself to a goody box from AALL & Create last Christmas with lots of lovely new stamps and stencils and today I wanted to share the latest card that I've made with these stamps.


Tracy Evans who designed this amazing stamp set created a YouTube video a few days ago to share a technique to create fabulous backgrounds using inks and fairy liquid and this is the card I've created using the same technique.

I remember creating bubble prints in art class at school but I think we used paint as the colour medium whereas for my card I've used a couple of distress inks.

I would highly recommend watching the YouTube tutorial if you haven't already seen it, if not here is the link Bubble Technique - Part 1 and Bubble Technique - Part 2

I had so much fun creating this card so Ill be trying out different colours.


I decided to follow the technique but I wanted to used 2 different colours of inks, a blue and a purple to create a layered look and I'm really happy with how it turned out.

Once I was happy with the depth of colour on my card panel I allowed it to dry - I think it works best if you leave it to dry naturally and allow the bubbles to pop on their own but you can use a heat gun.

I then used the gorgeous Dahlia stamp from the Scatter Kindness stamp set, stamping onto the panel in a dark blue Versafine Clair ink.   I stamped the flower onto a separate piece of cardstock and then used my watercolour pens to colour in both of the images, fussy cutting one of them out.  I added the second flower onto the design with Collall 3D glue gel for dimension  

I've added a little white pastel pencil to enhance some of the bubbles in the background.

The sentiment and the little hearts are stamped in twilight ink to coordinate with the design.

I've matted the panel onto navy cardstock and then added this to a 5" x 7" white card blank.

To finish off my card I used a white gel pen to add highlights around the image and splattered my white Posca pen across the design.


I really hope that you have enjoyed my card for today and will drop by again to see my next project.


Hasta luego ๐Ÿ‘‹ 


Enjoy the rest of your day !


Card recipe:

AALL  & Create Stamp -  # 716 Scatter Kindness
AALL & Create  Stamp - #732 Heart Medley
Versafine Clair ink - Twilight
Spectrum Aqua pen - marine
Chromatek watercolour brush pend - byzantine
Distress Ink re-inkers - dusty concord, faded jeans
Caran D'ache Prismalo watercolour pencil - black
Sakura Gelly Roll Pen - white
Collall 3D glue gel 


Thanks for stopping by and reading my blog I would love if you could leave me a comment. 


 Wendy x 

Wednesday 17 July 2024

Have a grape birthday with Lawn Fawn

Hello everyone wishing you a wonderful Wednesday! 

My goodness it's so hot here at the moment and the winds are making it feel even hotter...its set to get even hotter by the weekend too.  We had a lovely day down on the coast on Monday for my birthday and it was noticeably cooler and fresher so a nice respite.

I'm on my blog today with a fun card made using a new clear stamp - I don't tend to make cards with puns but I saw this and really liked it and I hope you do too.


This is a simple A6 (UK Size) card.  I started by creating a fund inky background with distress inks, smooshing the ink onto watercolour cardstock.

I added a little cosmic shimmer pixie powder to the background which you can just about see in this photo.

I then used the bunch of grapes stamp to create 3 little fun bunches again on watercolour card before colour with distress inks and then fussy cutting out.  

There is a matching die for this stamp but I thought its an easy shape to cut out.

I used the sweet little faces to stamp details onto the grapes - they are so cute.


Next I die cut a simple white circle frame and then assembled the card adding the grapes at different heights for interest.  The sentiment was stamped onto white card, cut out and then I used a purple pen to add an outline to the sentiments before adding these to the card, adhering at a jaunty angle.

Finally I added white gel pen highlights here and there, some purple confetti and I added an extra sentiment, stamped in purple ink directly onto the card.

I really hope that you have enjoyed my card for today and will drop by again to see my next project.


Hasta luego ๐Ÿ‘‹ 


Enjoy the rest of your day !

Card recipe:Please note contains some Affiliate links at no cost to you if you purchasing using these.
Lawn Fawn Clear Stamp - Year Fourteen
Versafine Clair ink - Monarch
Pretty Pink Posh - confetti - Sugar Plum
Sakura Gelly Roll Pen - white


Thanks for stopping by and reading my blog I would love if you could leave me a comment. 


 Wendy x

Saturday 13 July 2024

Christmas in July - Have a Jolly Christmas - July Digital Stamp Freebie with Blessed Crafters

Hello everyone wishing you a wonderful Saturday!

I'm on my blog today with another Christmas in July card - this time using a sweet Polar Bear from the Blessed Crafters Facebook Group.  

Each month Mynn Kitchen very generously gives a digital stamp to her group members and there is a Month long themed challenge in the group.  Why not head over, join the group and enter the challenge as you could win a digital stamp set.

Here is the link to join the group Blessed Crafters Facebook Group/


This is a simple A6 (UK Size) card created with a mat layer of aqua glitter card on a white card blank.  

I started off by resizing the polar bear digital stamp and then creating a panel adding the digital sentiment at the top and the mermaid rocks digital stamp at the bottom before printing out on my LaserJet printer.  I planned to foil the rocks and the sentiment using mint foil as i thought the rocks at the bottom look a little like an ice berg with the polar bear floating on it!

I used distress inks to create my background before foiling and then adding white gel pen highlights for the water and stickles to the ice to make it sparkle.


Next I coloured in the polar bear with my coloured pencils - colouring with my Promarkers in 38C temperatures is just not working ! and I'm loving using different mediums to create with.

Once the polar bear was coloured I fussy cut him out and then adhered him to the card using foam tape before splattering white paint over the whole card.

Finally I added white gel pen highlights here and there and some stickles to the bears pompom to finish off my card for today.

I really hope that you have enjoyed my card for today and will drop by again to see my next project.


Hasta luego ๐Ÿ‘‹ 


Enjoy the rest of your day !

Card recipe:Please note contains some Affiliate links at no cost to you if you purchasing using these.
Blessed Crafters Facebook Group - July Freebie digital stamp - polar bear
Sweet November Stamps - Digital Stamp - Mermaid Rock
Spectrum Noir coloured pencils
Polkadoodles Digital Sentiment - Gingerbread Holly collection - Sentiment bundle
Sakura Gelly Roll Pen - white


Thanks for stopping by and reading my blog I would love if you could leave me a comment. 


 Wendy x

Friday 12 July 2024

You're So Sweet - Stay Cool Ice creams with Studiolight

Hello everyone wishing you a wonderful Friday! I hope that you have had a lovely week and are looking forward to the weekend. 

I'm on my blog today with a very Summery card that I've made using a new set of clear stamps.  These sweet ice creams are from a set by Studiolight and I wanted to create something for the current Simon Says Stamp July challenge on Instagram to use the three colours pink, blue and green, a perfect combination for Summer!


This is a simple A6 (UK Size) card created with a layer of white card on a white card blank.  

I started off by stamping the three ice creams onto watercolour card stock and then coloured them using my watercolour paints, sticking to the theme, before fussy cutting out and using a black marker to hide the white outline.

Next I stamped the three ice creams onto a panel of white card before using my texture stamp and distress inks to create the splatters - I think they look like splashes of ice cream dropped onto the page.

Once the distress ink was dry I adhered the fussy cut ice creams into place along with a sweet sentiment from the set which I adhered with foam tape after doodling a black outline.  

Next I added white gel pen highlights here and there and some clear iridescent sequins to finish off my card for today.

I really hope that you have enjoyed my card for today and will drop by again to see my next project.


Hasta luego ๐Ÿ‘‹ 


Enjoy the rest of your day !

Card recipe:Please note contains some Affiliate links at no cost to you if you purchasing using these.
Studiolight clear stamps - Friendz - Stay Cool
Lisa Horton Crafts Euphoria Watercolour paints 
Craftwork Cards Stamps - Stamp it II
Sugar & Spice Sequins - Unicorn mix
Sakura Gelly Roll Pen - white, black


Thanks for stopping by and reading my blog I would love if you could leave me a comment. 


 Wendy x

Wednesday 10 July 2024

I Love Promarkers #563 - Masculine card - Sponsored by SheepSki Designs

Hello everyone wishing you a wonderful Wednesday! 

I'm on my blog today for the new bi-weekly I Love Promarkers blog challenge , it would be wonderful if you joined us over there if you love to colour with alcohol markers and don't forget there are prizes up for grabs.  


You can find all of the rules and details for the challenge over on the blog. 


This challenge is being sponsored by Sheepski Designs


Here is my inspiration card for the current blog challenge with the theme - a masculine card, using the very beautiful Birthday Cocktail digital stamp .  


When I'm making masculine cards I always think is it something I would make for my hubby, definitely no frou frou !

He definitely likes cocktails so my card today is inspired by a new cocktail that we've found called a Bikini Martini which is a layered cocktail containing coconut rum, vodka, pineapple juice and grenadine.

Todays card is a simple A6 (UK Size) portrait card with a mat layer of gold mirri cardstock.  The focal image was resized to suit my design and I added a digital sentiment at the bottom of the panel before printing out on alcohol marker friendly card stock.  

Next I coloured the image with Promarkers (see below for colours) and then for extra shine I used my Minc machine to apply gold foil over the top of the image, it gives it such a beautiful finish and doesn't really need much else.
I decided though to add a little grey ink as a shadow below the glass and then used a new stencil with a couple of distress inks for some celebratory confetti in the background.

I really hope that you like my card today and will drop by again to see my next project and don't forget to join in with the challenge over on the I Love Markers blog

The team is having a well earned break now but we'll be back on the 7th August with our next challenge.


Hasta luego ๐Ÿ‘‹ 


Enjoy the rest of your day !

Card recipe:Please note contains some Affiliate links at no cost to you if you purchasing using these.
Sheepski Designs - Birthday Cocktail
Studiolight layered masks - Exploding confetti
distress ink - salty ocean, twisted citron, weathered wood
Minc foil - Gold


Promarkers used :

Cocktail:    poppy, lipstick red, salmon pink
                gold, sunflower, buttercup

mint:        pine, emerald, soft green

Lime:        sunflower, soft green, lime green

Glass:        pastel blue
Ice


Thanks for stopping by and reading my blog I would love if you could leave me a comment. 


 Wendy x

Tuesday 9 July 2024

A Passion for Markers BlogSpot #747 - Favourite colours - Sponsored by LeAnn's World 101

Hello everyone wishing you all a lovely day !

Today I'm here to let you know that a new challenge has started over on the Passion for Markers Blog challenge and I hope that you will join in.


This weeks challenge theme of 'Favourite colours' has been chosen by Nat for team 2 and being sponsored by LeAnn's World 101...I think you'll be able to see what my favourite colours are !


As it's now Christmas in July I chose to use a sweet Christmassy digital images called Tangled Trisha for my card today ....This reminds me of us each year trying to untangle the Christmas lights ! No matter how neat and tidy they are put away, they always come out of the box all tangled up again! Must be the Christmas Elves.

This is a 5 x 7 portrait card with layers of fuchsia pink and purple card and a fabulous inky background panel too.


I used a peice of 300gsm watercolour card and began by creating an inky background using my distress inks, drying in between each layer.  Once I was happy with the layers and the depth of colour I used an embossing folder to add details to the panel and then added gold watercolour highlights.  

Next I resized the image to suit the card adding a sentiment to the bottom of the panel before printing out on alcohol friendly card stock and colouring with my Promarkers (see below for colours used). Once the card had been assembled I splattered more gold paint across the whole card and added white gel pen highlights and glossy accents to the fairy lights.  

I hope that you join in with the challenge as there is a prize from the sponsor for our lucky winner!

I really hope that you have enjoyed my card today and will drop by again to see my next project and don't forget to join in with the challenge over on the Passion for Markers blog


Hasta luego ๐Ÿ‘‹ 


Enjoy the rest of your day !


Card recipe:
LeAnn's World Designs Digital stamp -
Tangled Trisha
Distress Inks - peacock feathers, picked raspberry, squeezed lemonade, weathered wood
Sheena Douglass Embossing folder - Tangled Lights
Craftelier Watercolour paint - gold selection
Pretty Pink Posh confetti - gold
Sakura Gelly roll pen - white
glossy accents


Promarkers used :

Skin:            almond, blush, oatmeal, soft peach, dusky rose

Blush:           pale pink

Hair:            caramel, sandstone, pastel beige

Eyes:            china blue, pastel blue

Fur:              pastel blue

Lights:          gold, sunflower, buttercup

Boots:           blue black, cool grey 7, 5
                    hot pink, cerise, wild orchid
                    marine, turquoise, soft green

Hat:              hot pink, cerise, wild orchid

Top:              hot pink, cerise, wild orchid
                    aubergine, amethyst, pink pearl

Shorts:          marine, turquoise, soft green


Thanks for stopping by and reading my blog I would love if you could leave me a comment. 


 Wendy x